Showing posts with label Renzetti Vise. Show all posts

Saturday, July 20, 2013

Featured Fly - Dave Whitlock's Hare Sculpin

Here is a pattern that I had in my trout streamer box from Montana, I never used it. The while we were out last week, I looked in Jack's fly box, and told him to put it on (not realizing it was the same fly I had). Jack proceeded to catch fish left and right, the colors of choice were tan and olive. So naturally I asked Jack for one, and I came home and tied up a bunch. And now I'm sharing it with you.


Materials:
Hook: TMC 8089 sz. 10-6
Thread: Danville 210 - White
Eyes: Dumbbell Eyes - Red or Black 
Tail: Rabbit Zonker - Natural Brown or Dark Olive 
Under Body: Rabbit Zonker - White 
Gills: Saddle Hackle - Red
Fins: Pheasant Rump - Natural 

Step 1: Tie on the dumbbell eyes.


Step 2: Wrap your thread back to the bend of the hook, tie in rabbit zonker.


Step 3: Take the other rabbit, punch the hook through the middle of the zonker.


Step 4: Measure and cut the rabbit the length of the hook. This just helps keep extra material out of  the way.


Step 5: Wrap thread forward, tie in saddle hackle, make 3 or 4 wraps behind the eyes.


Step 6: Take 2 rump feathers and tie in front of the saddle hackle, they will flare out making fins.

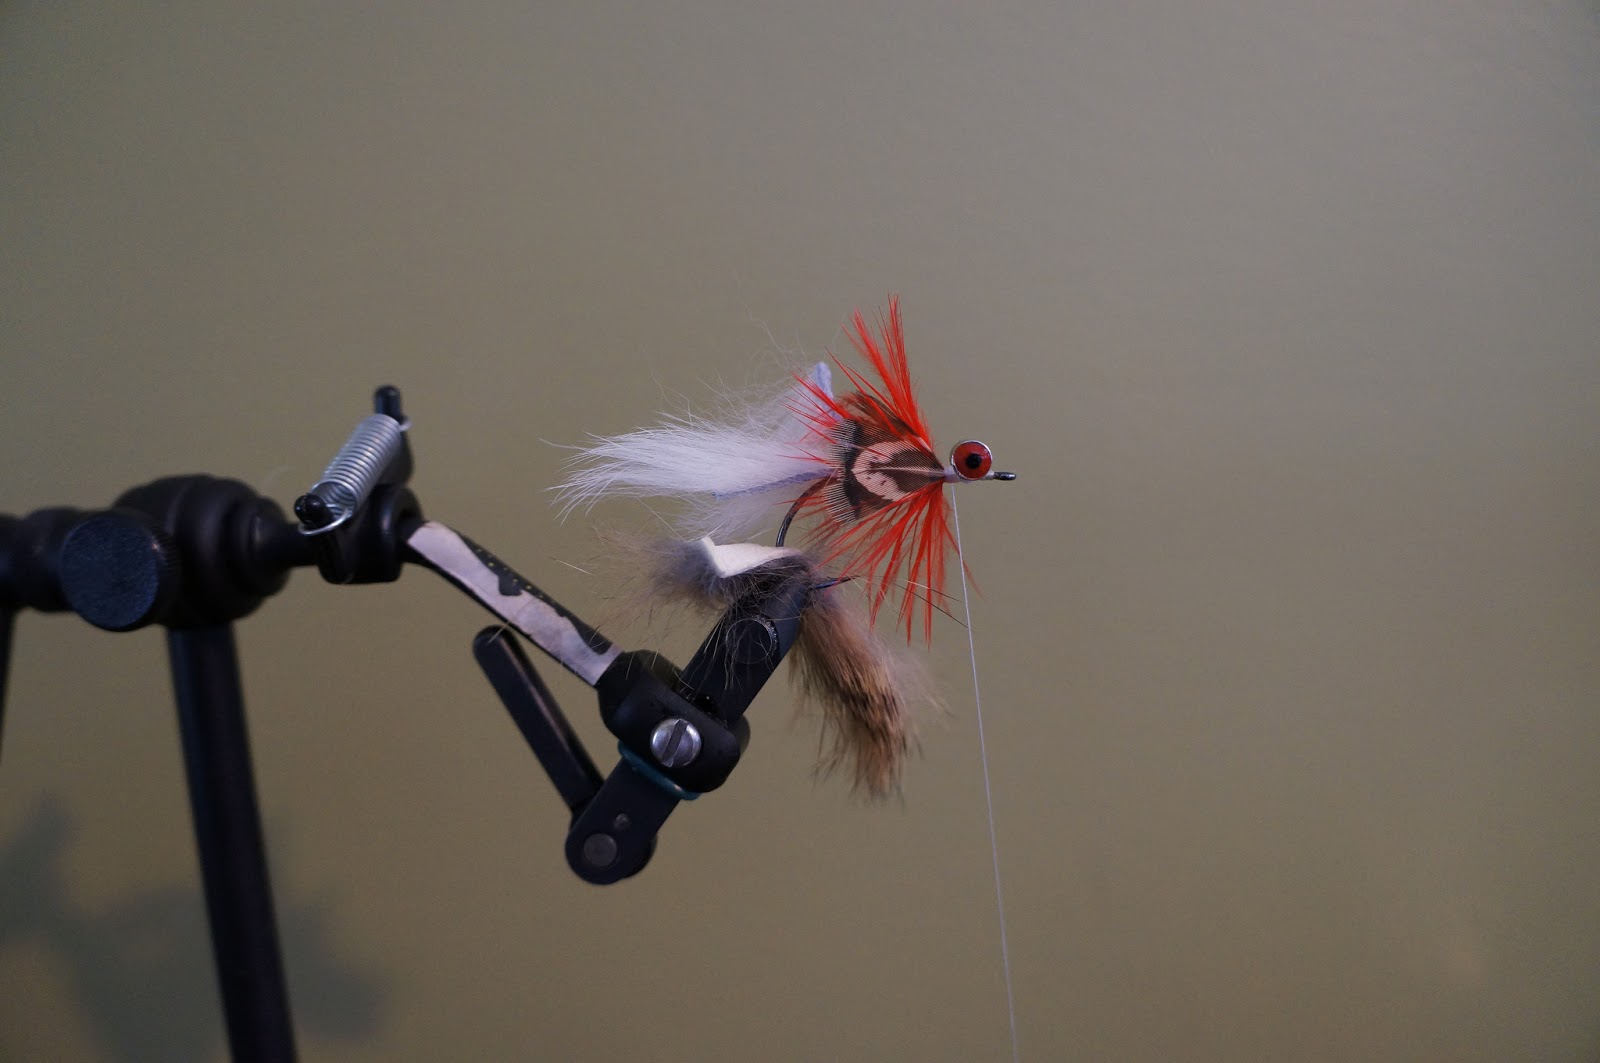

Step 7: Bring the white rabbit forward and tie off in front of the eyes.


Step 8: Flip the fly over, do the same with the other rabbit zonker.


Step 9: Trim the rabbit fur off the white zonker, some variations leave it on, I like it trimmed.


Step 10: Put a small drop of super glue at the back of the white zonker, push down onto the other zonker, securing the two together.


Step 11: Whip Finish, and you're done!


Finished Photo Gallery:


Friday, June 21, 2013

Featured Fly - Dunnigan's Panty Dropper

Here is an awesome little fly pattern that I found while browsing Montana Fly Company's website. It is the perfect dropper of any sulphur dry, or the bottom fly of a double nymph rig. Change the thorax and add a hot collar, and you just made a totally different pattern.

Material
Hook: TMC 2499 SPBL or 2457
Bead: Tungsten Bomb Bead - Copper
Tail: Pheasant tail fibers 
Rib: Ultra Wire - Small - Copper
Body: Tying Thread - Brown Olive
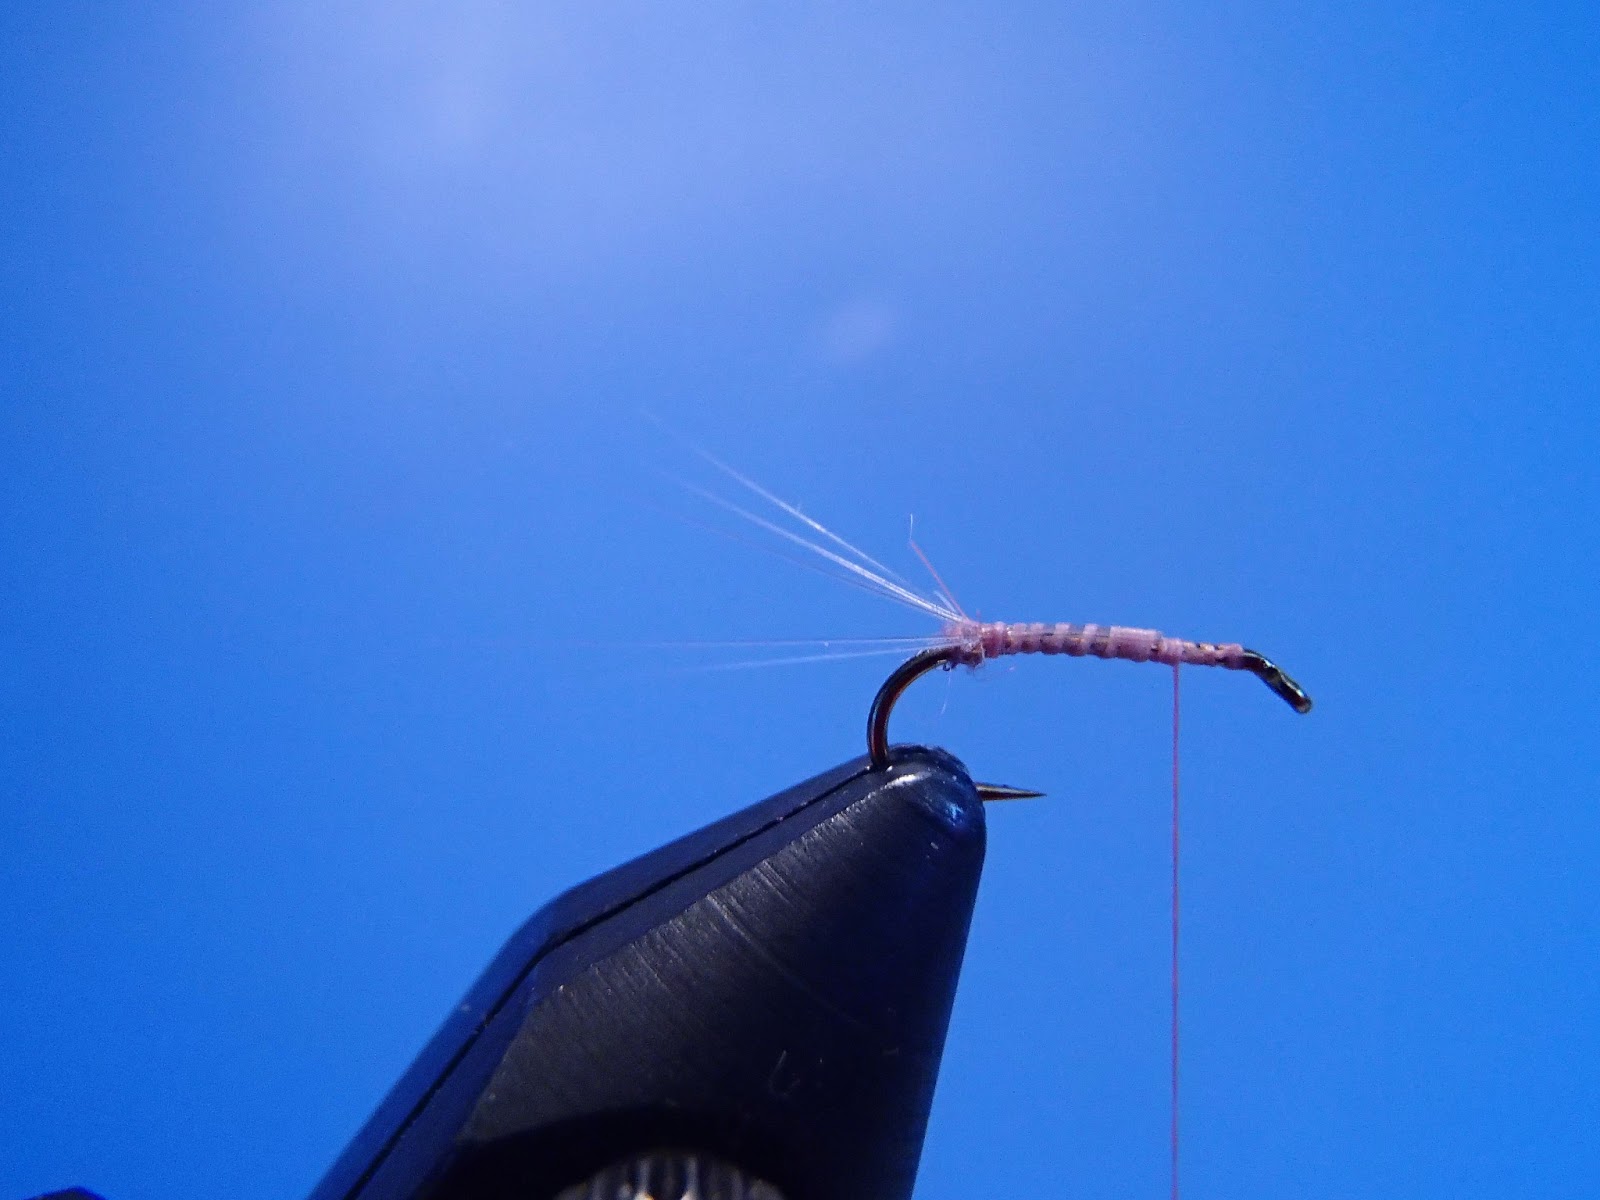
Legs: Nymph Legs - Pumpkin/Black
Thorax: East Coast Dubbing - Sulphur Yellow 
Wing Case: Thin Skin - Mottled Oak - Black 
Wing Case Coating: Clear Cure Goo - UV

Step 1: Make a thread base, tying in the ultra wire as you go back.


Step 2: Tie in the 5 or 6 fibers of pheasant tail. Cut off the extra. 


Step 3: Covering the excess pheasant tail, and making the body of the fly, wrap thread forward.


Step 4: Wrap the ultra wire forward making a rib.


Step 5: Tie in the rubber legs right at the end of the ribbing.


Step 6: Dub the thorax. Remember changing the color to match the hatch.


Step 7: Cut a small strip of thin skin, then cut a "V" in the tip.


Step 8: Tie in the thin skin, making a wind case.


Step 9: Cut off excess thin skin, whip finish, and cut thread off.


Step 10:  Add a small amount of CCG, making a wing case, hit it with your UV light until cured.


Finished Fly:


Friday, May 31, 2013

Featured Fly - Split Back Nymph

Here is a fly, that I first heard about last year on the Delaware while asking George what he had been fishing all morning. Then again in Montana when our guide gave us a couple "go to" flies for the season. So I decided to tie a couple up a few weeks ago, and give them a try once the Sulphurs started, yup best decision Ive made this year. Anyway, it is an awesome fly, and really isn't that hard to tie.

Materials:
Hook: TMC 3761 sz. 12 - 18
Bead: Size to match Hook - Black or Copper 
Tail: CDL Tail
Rib: Ultra Wire - Small
Abdomen:  Pheasant Tail - Natural 
Wing Case: Scud Back - Black
Under Wing: Thin Fly Foam - Yellow
Thorax: SLF - Nymph Thorax
Legs: Partridge Feathers 

Step 1: Make a thread base, tying in the ultra wire as you go back.


 Step 2: Tie in about 8 CDL Fibers for the tail. Cut off extra, leaving the thread a the hook bend.


 Step 3: Tie in 4 pheasant tail fibers.


 Step 4: Wrap pheasant tail forward, leaving about a third of the hook empty.


 Step 5: Wrap the wire forward, securing the pheasant tail.


 Step 6: Cut a diamond out of the scud back.


Step 7:  Tie in the scud back, tying it right to the start of the diamond.


Step 8: Tie in the foam.


Step 9: Dub the thorax.


Step 10: Pull the foam forward, pull it tight, trying not to break the foam.


 Step 11: Pull the scud back forward, centering the split over the foam.


Step 12: Once you have it tied off, take a partridge feather, and split to make legs. 


Step 13:  Whip Finish and Cut off.


Saturday, April 27, 2013

Featured Fly - Biot Body CDC Post Para Hendro

Yeah say that five times fast. The name pretty much describes the fly to a "t", this is just an awesome looking dry fly and fish love it. I have always been a big fan of the profile of a parachute fly, but not so much a fan of the way they land on the water. So I decided to change the post to CDC and this guy will land post up every time. Change the body color and size, you have any mayfly you want. Change the color to the appropriate spinner color, and yup, you have one of those too. It's a great fly to have in your box.

Materials
Hook: TMC 100 sz. 14-16
Dubbing: TCO East Coast - Hendrickson Pink
Biot: Turkey Biot - Hendrickson Pink
Tails: Mayfly Tails 
Hackle: Whiting Grizzly 
Para Post: CDC - Natural & Chart.

Step 1: Make a small dubbing ball at the hook bend. This will help split the tail fibers .


Step 2: Tie in 4 to 6 tail fibers. Then take your thread and split the fibers, making 2 tails.


Step 3: Tie in the Turkey Biot. I like to tie this in, the length of the body, it helps to not break. 


Step 4: Strip 2 CDC feathers, cut the junk off, and tie in. (cdc puffs work too)


Step 5: Thread wrap the post, standing it up.


Step 6: Tie in the hackle. 


Step 7: Wrap the biot forward, keeping the ribs close together.


Step 8: Make 2 wraps of hackle around the post, and tie off.


Step 9: Trim the cdc to the length you like. Whip Finish and cut thread.


 Step 10: Go FISH!!!