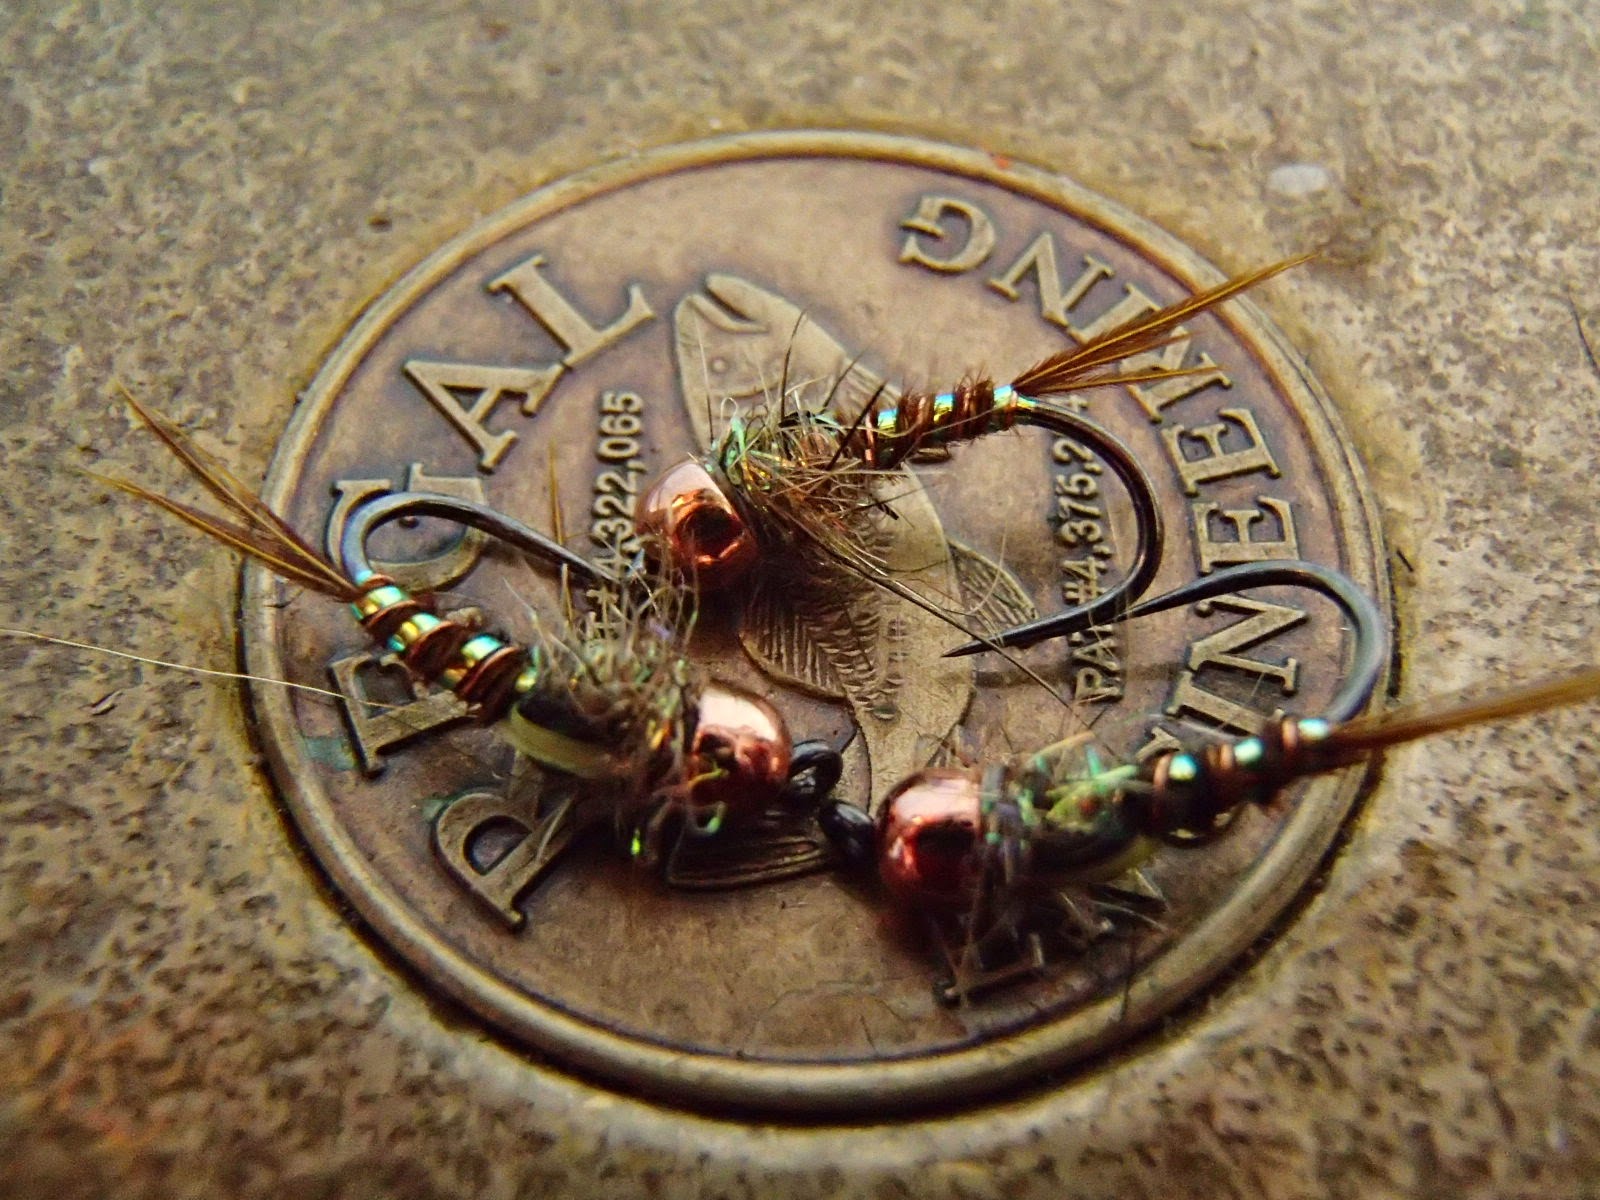
Showing posts with label Trout Fly Patterns. Show all posts

Friday, April 30, 2021

Jake's Brood X Cicada


Jake’s Brood X Cicada:

The Brood X Cicada is a 17-year fly angler’s dream. Every 17 years these noisy protein packed meals crawl out of the ground and make a mess for the real world, but for a trout, smallmouth, or carp, it is an endless buffet. Fish all sizes lose their minds for about 2 months, eating every one that hits the water until they can’t fit any more in their bellies. I’m convinced that they have the same internal conversation humans do when we are reaching that moment of total discomfort from eating but can’t stop. “Should I eat this last bite and feel like crap for a while, or do I just stop while I’m ahead?” I don’t know about you, but I always fall for that and take the last bite. These Cicadas pop up around the country in different locations yearly, but without tracking them and doing a little traveling, they only come around locally every 17 years and this year the Cumberland Valley is in the bullseye. 

When I found out it was our year, I sat down and trolled the internet looking for cool patterns to tie, even purchased a few from other tiers, but I still wanted to tie a couple of my own design. After about 6 semi decent attempts I landed on this design as my favorite and I wanted to share it with everyone. I don’t have a fancy name for it yet so we I just kept it basic and to the point. 

Enjoy the video and get tying they will be here before we know it. 

Sunday, January 31, 2021

Double Squirrel Nymph

Double Squirrel Nymph

The double squirrel nymph has become a staple in my trout and steelhead boxes over the past few years. This little nymph is simple, and not groundbreaking by any means, but it works and its fun to tie. I started off tying this fly about 5 years ago because I was tired of my hare’s ear nymphs not being as buggy as I wanted them to be. So, I switched over to using SLF Squirrel dubbing instead of the traditional hare’s ear dubbing. After I reached the bugginess I wanted I decided to make it simpler and tie it without a wing case and change the collar color to dark brown to give it some contrast. This tying style is also referred to as “tying in the round”, no wing cases or legs, just a simple nymph profile. The I got a little wild and added two hot spots, yup TWO, and that is ultimately how this bug got its name. Double Hot spots and tied out of squirrel dubbing, the “Double Squirrel”. 

It is a great prospecting nymph if there isn’t much going on, it’s simple design and profile can mimic most mayfly nymphs just by changing the hook size. 

The main sizes that I fish are 14s and 16s, but if the water is higher or off color, I will jump up to a size 12, I hopes that it will show up better and get a trout’s attention. On the other side of that, if the water is low and clear, I will drop down to a size 18 if needed.

Last year I started fishing them for great lakes and south east Alaskan steelhead, they definitely didn’t stick their noses up at them. For steelhead the pink hot spot variation has seemed to get the most interest. I will tie them up to a size 10 for steelhead and typically not go much smaller than a 14. 

It is a great year-round fly and has caught fish from Maine to South America.


Double Squirrel:
Hook: TMC C200BL 12-16
Thread: Veevus 8/0 – Fl. Fire Orange 
Bead: Tungsten – Black Nickle 
Tail: CDL Fibers – Black Speckled Corzuno
Rib: Tinsel sz. Small – Opal 
Body: SLF Squirrel Dubbing – Natural Fox 
Collar: SLF Squirrel Dubbing – Dark Brown 


Hook Variations:
Hook: TMC C450BL 12-16
Hook: Partridge SLJ 12-18
Hook: Ahrex FW551 14-10
Bead: Slotted Tungsten Bead – Black Nickel


 Color Variations:
Thread Color: Fl. Chartreuse, Fl. Orange, Fl. Pink 


Monday, November 16, 2015

Macro Flies

My lovely wife gave me a macro lens for my camera as a wedding present. I have been messing with it for a while now and can finally take a decent picture with it. I am no professional photographer here, but I do love taking pictures. Once we got back from Belize I made a goal to fill all my nymph boxes before I would go fishing. Well the before fishing part didn't work out, but I have completed filling in the gaps of all four boxes. The caddis box, midge box, sow bug box, and general nymph box, are all full. Here are few shots of some of my favorite patterns for most nymphing situations. 

Small Prospecting Nymph.
An Army of Prospecting Nymphs.
Orange Collared Pheasant Tail Nymph.
Pheasant Tail with a Hot shot. 
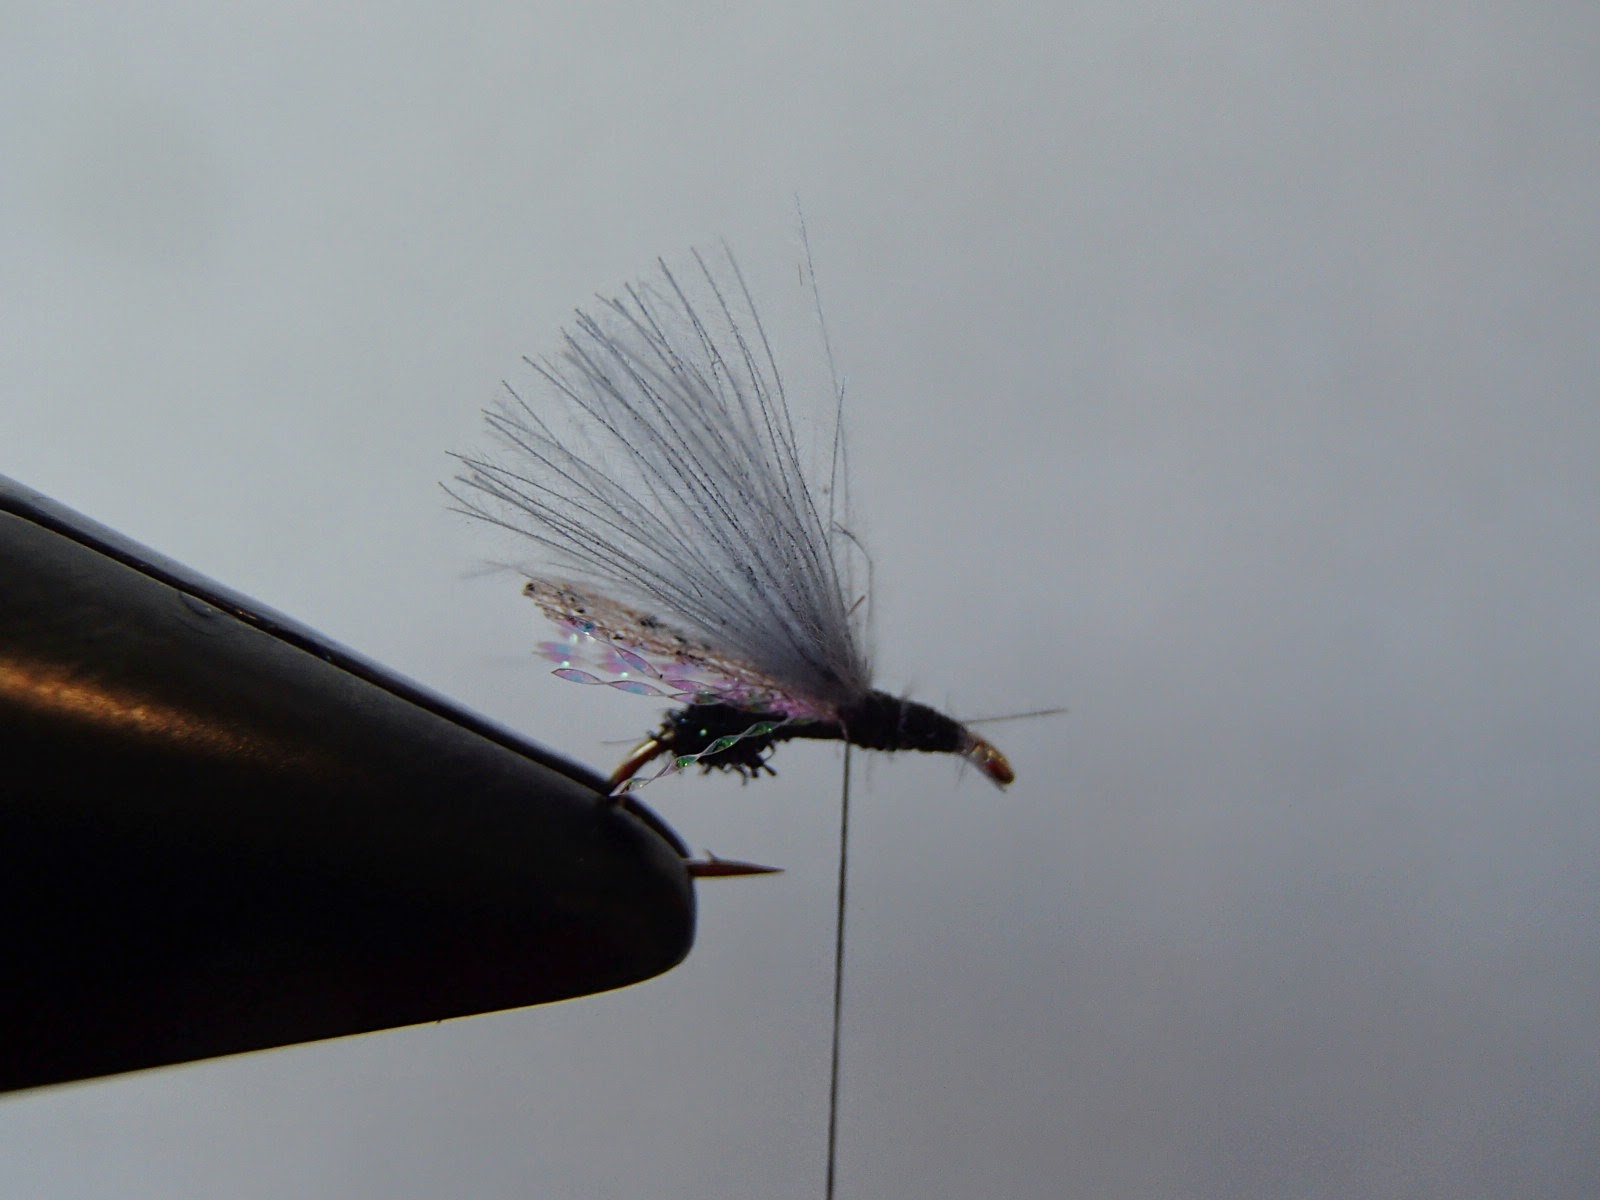
Psycho Prince Nymph and Pheasant Tail.
Artsy Black and White of a Squirrel Nymph and Pheasant Tail.
Two of my favorite Jig style flies.
Midge, Midge, Midge 
Variety of Midge Fly Patterns. 
Peaking Caddis Jig a 2015 Orvis Tactical Fly.
Simple Caddis Larva.
An army of Cress Bugs.
The Pink Sow Bug Fly.
Natural, Rainbow, and Pink my three favorite colors. 
The natural sow bug or cress bug is a great fly for all winter time fishing.


Thursday, October 16, 2014

Featured Fly - Iced-Out Pheasnt Tail

This is a fast and simple little fly. I was tying some smaller pheasant tails up for our last New Hampshire trip, to mimic BWO nymphs. This little guy was what came out of the pile of fly tying crap all over my desk. It worked well on Landlocks and Brook Trout. This one should be a great fly for the up and coming winter months.

Materials:
Hook: 2499 SPBL sz. 16-20
Beadhead: Tungsten Bomb Bead - Gold 
Thread: UNI Thread 6/0 - Fl. Fire Orange 
Rib: Ultra Wire - Small - Gold
Body: Ice Dub - Brown/Olive 
Thorax: Ice Dub - Peacock 
Tail/Back: Pheasant Tail - Olive

Step 1: Make a small thread base, just behind the bead.


Step 2: Finish the thread base, tying in the wire as you go back.


Step 3: Making one wrap, secure the pheasant tail, at the bend of the hook.


Step 4: Dub the body with ice dub.


Step 5: Pull the pheasant tail forward, tying in right behind the bead.


Step 6: Wrap the wire forward, securing the pheasant tail and making a nice rib.


Step 7: Cut off extra pheasant tail.


Step 8: Dub the thorax with a small amount of peacock ice dub.


Step 9: Whip fishing and cut off.


Fooled Fish!


Wednesday, July 9, 2014

Featured Fly - Lite Brite Ant

Here is a ant pattern that I came up with after having a conversation with a customer a few weeks back. Yup thats right a few weeks back, sorry for the delay, and lack of posting. This is an awesome little, or big ant pattern, it floats high and seems to get the trouts attention nicely.

Materials:
Hook: TMC 100 sz. 12-18
Thread: UNI Thread - Color to Match Dubbing 
Body: Ice Dub - Black, Copper, Red
Flash: Flashabou Accent - Pearl or Opal
Under Wing: Web Wing - Brown or Grey
Wing: CDC - Natural Brown or Med Dun 

Step 1: Make a thread base.


Step 2: Make a small dubbing ball, then wrap the thread forward. This will make the middle of the fly.


Step 3: Choose about 6 strands of flash and tie in. Leaving about a 1/4 of the hook open.


Step 4: Next get your web wing out and cut a small rectangle, about the length of the hook shank. trim the edges to make a tapered wing.


Step 5: Tie in the wing, just over the flash.


Step 6: Strip and stack one cdc feather. Tie it in and trim excess off.


Step 7: Make another dubbing ball, this will form the head.


Step 8: Whip finish and start piling them up.


Thursday, May 29, 2014

Featured Fly - Firecracker Split Back

Here is a great variation of an awesome fly that I have used all over the US. After hearing about it multiple times, I decided to tie a few, and I have not been disappointed yet. This variation has been working well for me so far this season, so I figured it would be a good idea to share it with everyone!


Materials:
Hook: TMC C200BL 12-16
 Bead: Tungsten Bomb Bead - sz to Match Hook 
Rib 1: Mirage Tinsel - Sm
Rib 2: Ultra Wire - Sm
Body: Pheasant Tail - Yellow, Natural, Orange 
Splitback: Goose Biot - Yellow, Orange
Shellback: Holo Tinsel - Black - Lrg.
Thorax: SLF - Nymph Thorax
Collar: SLF - Nymph Thorax

Step 1: Slide the bead onto the hook.


Step 2: Tie in the Wire and Tinsel behind the hook eye.


Step 3: Tie in the wire and tinsel as you make a thread base.


Step 4: Tie in the pheasant tail, make one tight securing wrap over the PT. Then wrap the thread forward, to right in front of the hook point.


Step 5: Wrap the pheasant tail forward.


Step 6: Wrap the tinsel forward, making the first under rib.


Step 7: Wrap the wire forward, securing the tinsel.


Step 8: Tie in the Biot.


Step 9: Tie in the holo tinsel


Step 10: Dub the thorax


Step 11: Pull the holo tinsel forward, this will be the shell back.


Step 12: Pull the Biot forward, this will give the look of a splitting wing case.


Step 13: Make a small collar of dubbing.


Step 14: Whip finish and cut off!


Finished Fly: