Showing posts with label Sulphur Nymph Fly Pattern. Show all posts

Thursday, April 7, 2016

Some Trout Flies

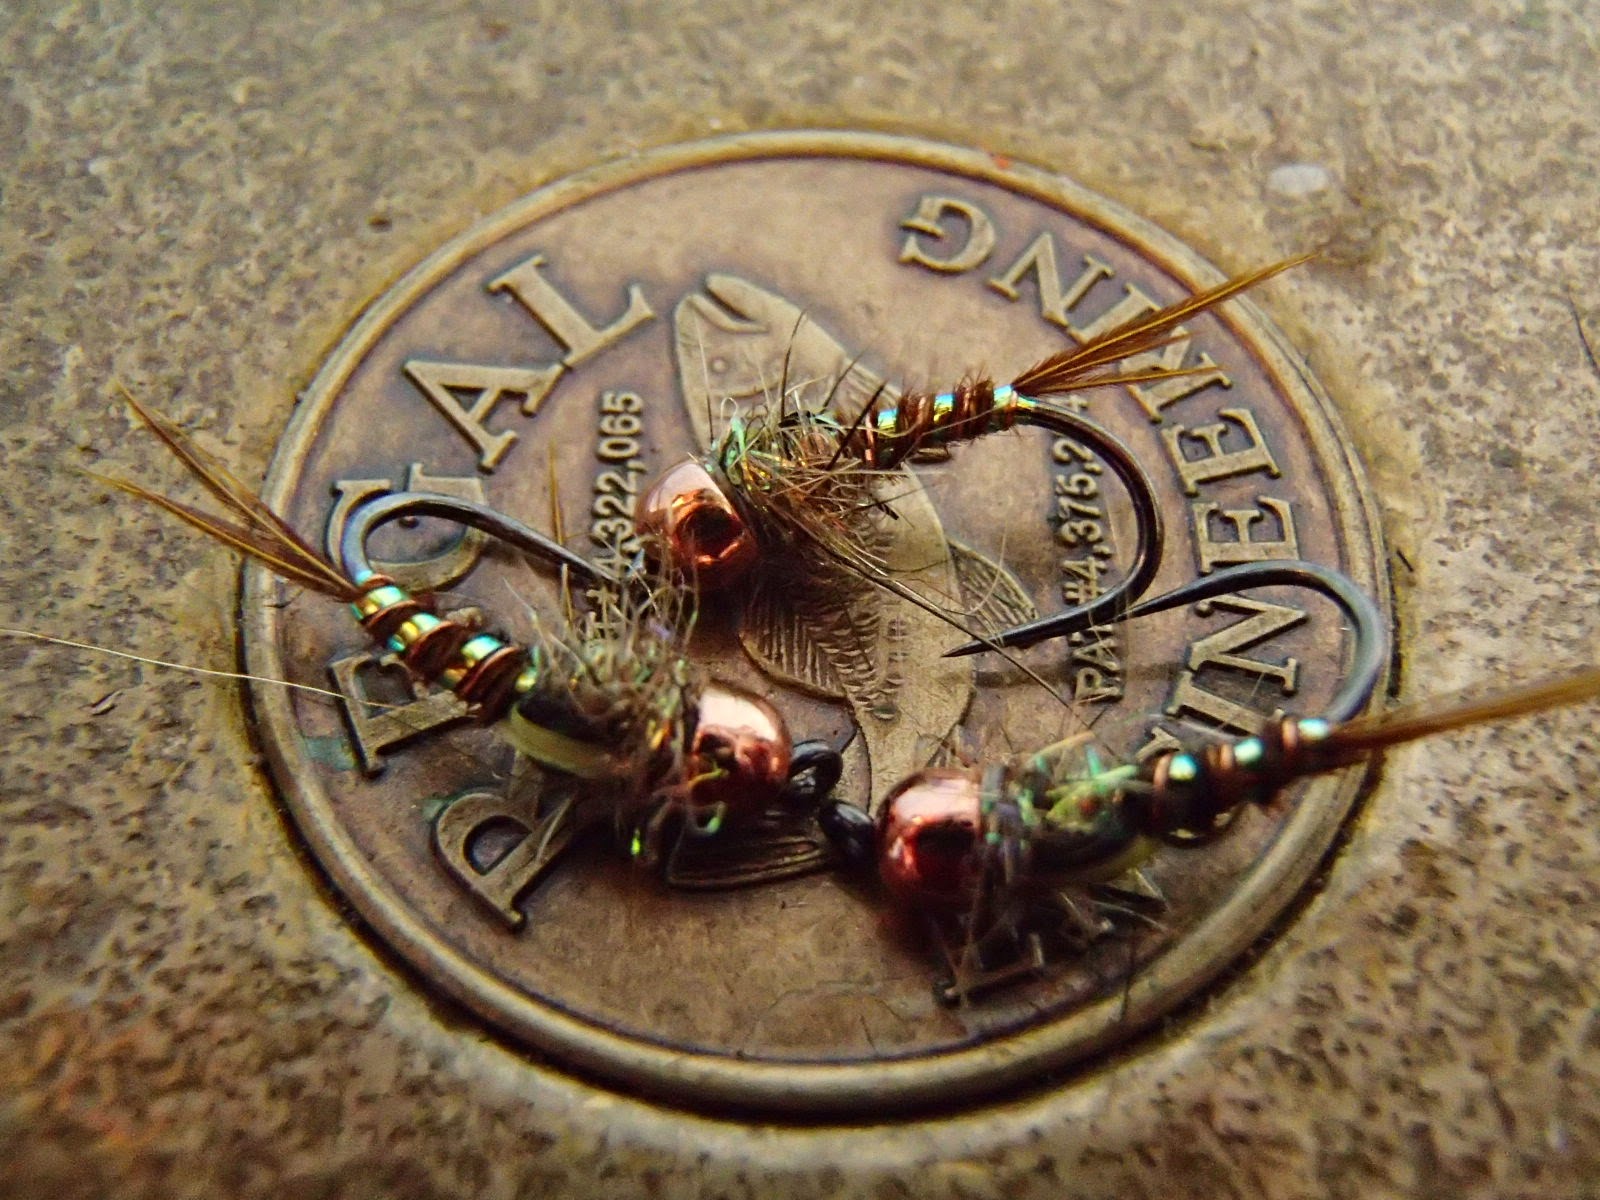
As much as I want to be floating down the Juanita River throwing a popper for smallmouth, it is still trout season.  I have been trying to get out a few days a week down by the new shop, the fishing has only improved over the past couple weeks. I have spent a good bit of time behind the vise stocking the boxes. I have no more room in my nymph boxes, and I should be good on dries, now its onto the smallmouth candy. Here are a few macro shots of the nymphs I have been tying.

Modified Trigger Nymph - Sulphur 
Caddis Larva
Rubber Z Caddis Pupa 


General Mayfly Nymph 

Friday, May 29, 2015

Featured Fly: Ice Bubble Sulphur Nymph

This is a variation of a fly I found in Montana a few years back. It has worked well for me all over the east coast. I was using it this past weekend on the Little J, and the fish couldn't resist. So here you go.

Materials:
Hook: Orvis Tactical Czech Hook 14-16 TMC 2457 14-18
Thread: UNI Thread 6/0 - Camel
Bead: Tungsten to match Hook 
Rib 1: Ultra Wire - Small - Copper
Rib 2: Pearl Tinsel - Opal 
Tail: CDL Feather
Body: Turkey Tail - Natural 
Thorax: SLF Dubbing - Nymph Thorax 
Bubble: Ice Dub - Yellow or UV Yellow 
Legs: Partridge Feather - Natural 


Step 1: Make a small thread base behind the bead.


Step 2: Finish making your thread base, while tying in you two ribbing materials.


Step 3: Tie in 10 CDL fibers to make the tail. Move the thread forward to right behind the bead.


Step 4: Tie in four turkey tail fibers, and wrap back towards the tail.


Step 5: Move the thread three quarters of the way to the bead.


Step 6: Wrap the turkey forward.


Step 7: Wrap the two ribbing materials forward.


Step 8: Dub half of the thorax.


Step 9: Make a small dubbing ball around the thread.


Step 10: Make a loose loop and place the dubbing ball on top the fly, then pull tight


Step 11: Dub the rest of the thorax.


Step 12: Take a partridge feather and tie in making legs.


Step 13: Add a little more dubbing, then whip finish and cut off.


Finished Fly:


Thursday, May 29, 2014

Featured Fly - Firecracker Split Back

Here is a great variation of an awesome fly that I have used all over the US. After hearing about it multiple times, I decided to tie a few, and I have not been disappointed yet. This variation has been working well for me so far this season, so I figured it would be a good idea to share it with everyone!


Materials:
Hook: TMC C200BL 12-16
 Bead: Tungsten Bomb Bead - sz to Match Hook 
Rib 1: Mirage Tinsel - Sm
Rib 2: Ultra Wire - Sm
Body: Pheasant Tail - Yellow, Natural, Orange 
Splitback: Goose Biot - Yellow, Orange
Shellback: Holo Tinsel - Black - Lrg.
Thorax: SLF - Nymph Thorax
Collar: SLF - Nymph Thorax

Step 1: Slide the bead onto the hook.


Step 2: Tie in the Wire and Tinsel behind the hook eye.


Step 3: Tie in the wire and tinsel as you make a thread base.


Step 4: Tie in the pheasant tail, make one tight securing wrap over the PT. Then wrap the thread forward, to right in front of the hook point.


Step 5: Wrap the pheasant tail forward.


Step 6: Wrap the tinsel forward, making the first under rib.


Step 7: Wrap the wire forward, securing the tinsel.


Step 8: Tie in the Biot.


Step 9: Tie in the holo tinsel


Step 10: Dub the thorax


Step 11: Pull the holo tinsel forward, this will be the shell back.


Step 12: Pull the Biot forward, this will give the look of a splitting wing case.


Step 13: Make a small collar of dubbing.


Step 14: Whip finish and cut off!


Finished Fly:


Friday, June 21, 2013

Featured Fly - Dunnigan's Panty Dropper

Here is an awesome little fly pattern that I found while browsing Montana Fly Company's website. It is the perfect dropper of any sulphur dry, or the bottom fly of a double nymph rig. Change the thorax and add a hot collar, and you just made a totally different pattern.

Material
Hook: TMC 2499 SPBL or 2457
Bead: Tungsten Bomb Bead - Copper
Tail: Pheasant tail fibers 
Rib: Ultra Wire - Small - Copper
Body: Tying Thread - Brown Olive
Legs: Nymph Legs - Pumpkin/Black
Thorax: East Coast Dubbing - Sulphur Yellow 
Wing Case: Thin Skin - Mottled Oak - Black 
Wing Case Coating: Clear Cure Goo - UV

Step 1: Make a thread base, tying in the ultra wire as you go back.


Step 2: Tie in the 5 or 6 fibers of pheasant tail. Cut off the extra. 


Step 3: Covering the excess pheasant tail, and making the body of the fly, wrap thread forward.


Step 4: Wrap the ultra wire forward making a rib.


Step 5: Tie in the rubber legs right at the end of the ribbing.


Step 6: Dub the thorax. Remember changing the color to match the hatch.


Step 7: Cut a small strip of thin skin, then cut a "V" in the tip.


Step 8: Tie in the thin skin, making a wind case.


Step 9: Cut off excess thin skin, whip finish, and cut thread off.


Step 10:  Add a small amount of CCG, making a wing case, hit it with your UV light until cured.


Finished Fly: