Friday, November 15, 2013

Featured Fly - Great Lakes Angry Leech

This is a Guide Simple fly that I came up with the other day. I took one of my favorite Alaska flies, the Starlite Leech, tweaked it a bit and here is what I came up with, The Great Lakes Angry Leech. The original fly was a killer for me in Alaska, and has gotten me a few nice fish on the swing on the Salmon River. One night I was sitting around thinking about how I could make it just a leech and not an egg sucking leech, a spun rabbit head was the answer to that. Then when I sat down to tie it, the 35mm shank idea came up, so here it is.

Materials:
Hook: Fish Shank 35mm
Hook: Daiichi 2553 - Nickel 
Eyes: Lead Eyes - Small or Med.
Tail: Rabbit Zonker - Purple/Black/White
Body: Estaz - Purple 
Collar 1: UV Polar Chenille -  Black 
Collar 2: Rooster Saddle - Black 
Head: Rabbit - Dubbing Loop 

Step 1: Tie on the stinger Hook.


Step 2: Tie on the lead eyes, leaving a small gap between the eyes and eye of the hook.


Step 3: Tie in the rabbit, make the tail length equal to the hook.


Step 4: Tie in the Estaz, move thread forward, leaving room behind the eye for the collars.


Step 5: Wrap estaz forward.


Step 6: Fold the rabbit forward and tie off behind eyes.


Step 7: Tie in the UV polar chenille.


Step 8: Make 2 wraps of polar chenille.


Step 9: Tie in rooster saddle.


Step 10: Make 3 or 4 wraps.


Step 11: Make a dubbing loop with the rabbit.


Step 12: Wrap forward, forming the head. Whip Finish 


Finished Fly:

Great Lakes Angry Leech - Purple
Great Lakes Angry Leech - Black
Great Lakes Angry Leech -White


Wednesday, November 13, 2013

Lets Try This Again - Ohio

After a few tying sessions mixed with beer, and virtually no planning, Leland and I were headed west to Ohio to try it again. If you remember from our last trip, cold weather and slush made it almost impossible to fish the Ohio tribs, so we headed over to Elk and landed one fish. So this time, heading up in November instead of January, we were hoping for a better outcome. But hey its steelhead fishing, anything can happen.

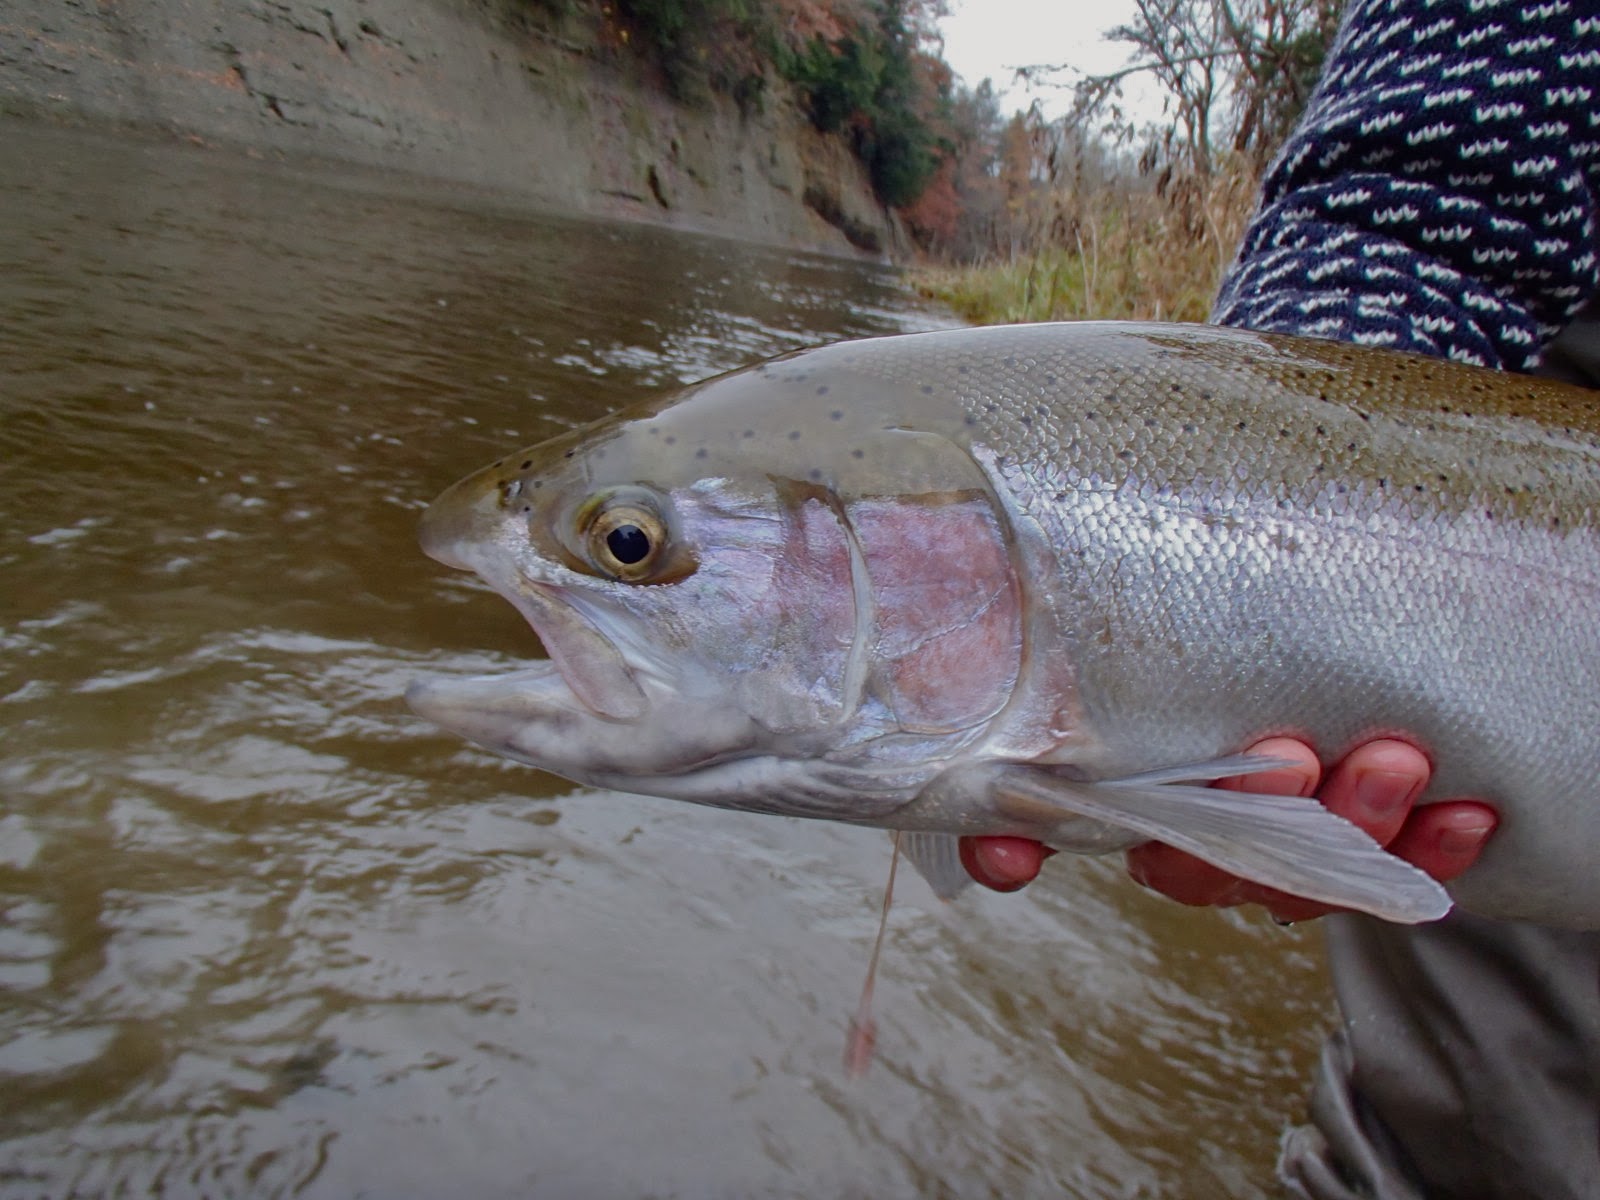
We started off our trip on the Chagrin, going back to the same place we hooked the only 2 fish of the day, last trip. We fished for a while, leaves and high wind made it difficult to get good clean drifts, so we headed up stream. We walked around the corner and found a sweet run, looked deep, with a slight riffle to it. About 15 mins later I had a beautiful hen in the net. Seeing almost no one all day, it was an awesome day, Leland hooked 3 and lost them all, so 4 fish on was already better than last year.

Day 2 we headed to the Conneaut, to a spot Casey told us about. The water was a bit high and off color, but man was it a sweet section of river. No fish there, so we headed up river to a spot we looked at the last time we were there. Not a person on the river, and again some awesome looking water, we nymphed a while with no love, so I put a sink tip on and started swinging the slower water. After a bit of a quite spell, I hear Leland yelling "theres a fish!", I look up to see a chrome fish jumping out of the water. After that we went 3 for 3 and one on the swing. It was an awesome trip.


Wednesday, November 6, 2013

Tube Flies - Advantage

Well my fishing has been on hold for a couple weeks now, high water around the great lakes has kept me home this last weekend. Besides a half day on the Salmon River, hooking 2 fish and landing 0, and a local trout trip to Valley creek, I have spent most of my time the past 2 weeks at the vise. For the past 3 or so years, I've become very fond of tube flies, from steelhead to trout, I think they give you a huge advantage. I was surfing the web checking out new patterns, and new technology for this form of fly tying, when I came across this little write up from HMH Vises. These guys make some awesome tools for tubes, and have some great styles of tubes, simple and easy to use. So if you have been thinking about getting into tube flies, check out this list of advantages from HMH, then stop by the shop and we can get you all set up. Or just check the back blog for some tubes Ive tied up.


Tube Flies have real advantages over conventional flies:


·       Pattern size and style aren’t dependent on hook size or style.

·       Hook can be placed further back in the pattern resulting in more hook ups.

·       Many tube choices - including weight, color, size, shape and length options.

·       Less hook leverage with shorter shank tube hook when fighting fish resulting in more landed fish.

·       Fly slides up leader and away from sharp teeth during fight.

·       If hook breaks or dulls simply replace it.

·       Many hook choices including treble, double and single.

·       Change easily from barbed or barbless.

·       Can use non stainless hooks in saltwater.

·       Incorporate cones and beads to add and adjust weight of flies.

·       Tie convertible flies – mix and match tailing material.


Great Lakes Steelhead that feel to a Leech Tube Fly
Variation of a classic, Green Butt Bunny Skunk
Tube Fly Sculpin Pattern


Thursday, October 31, 2013

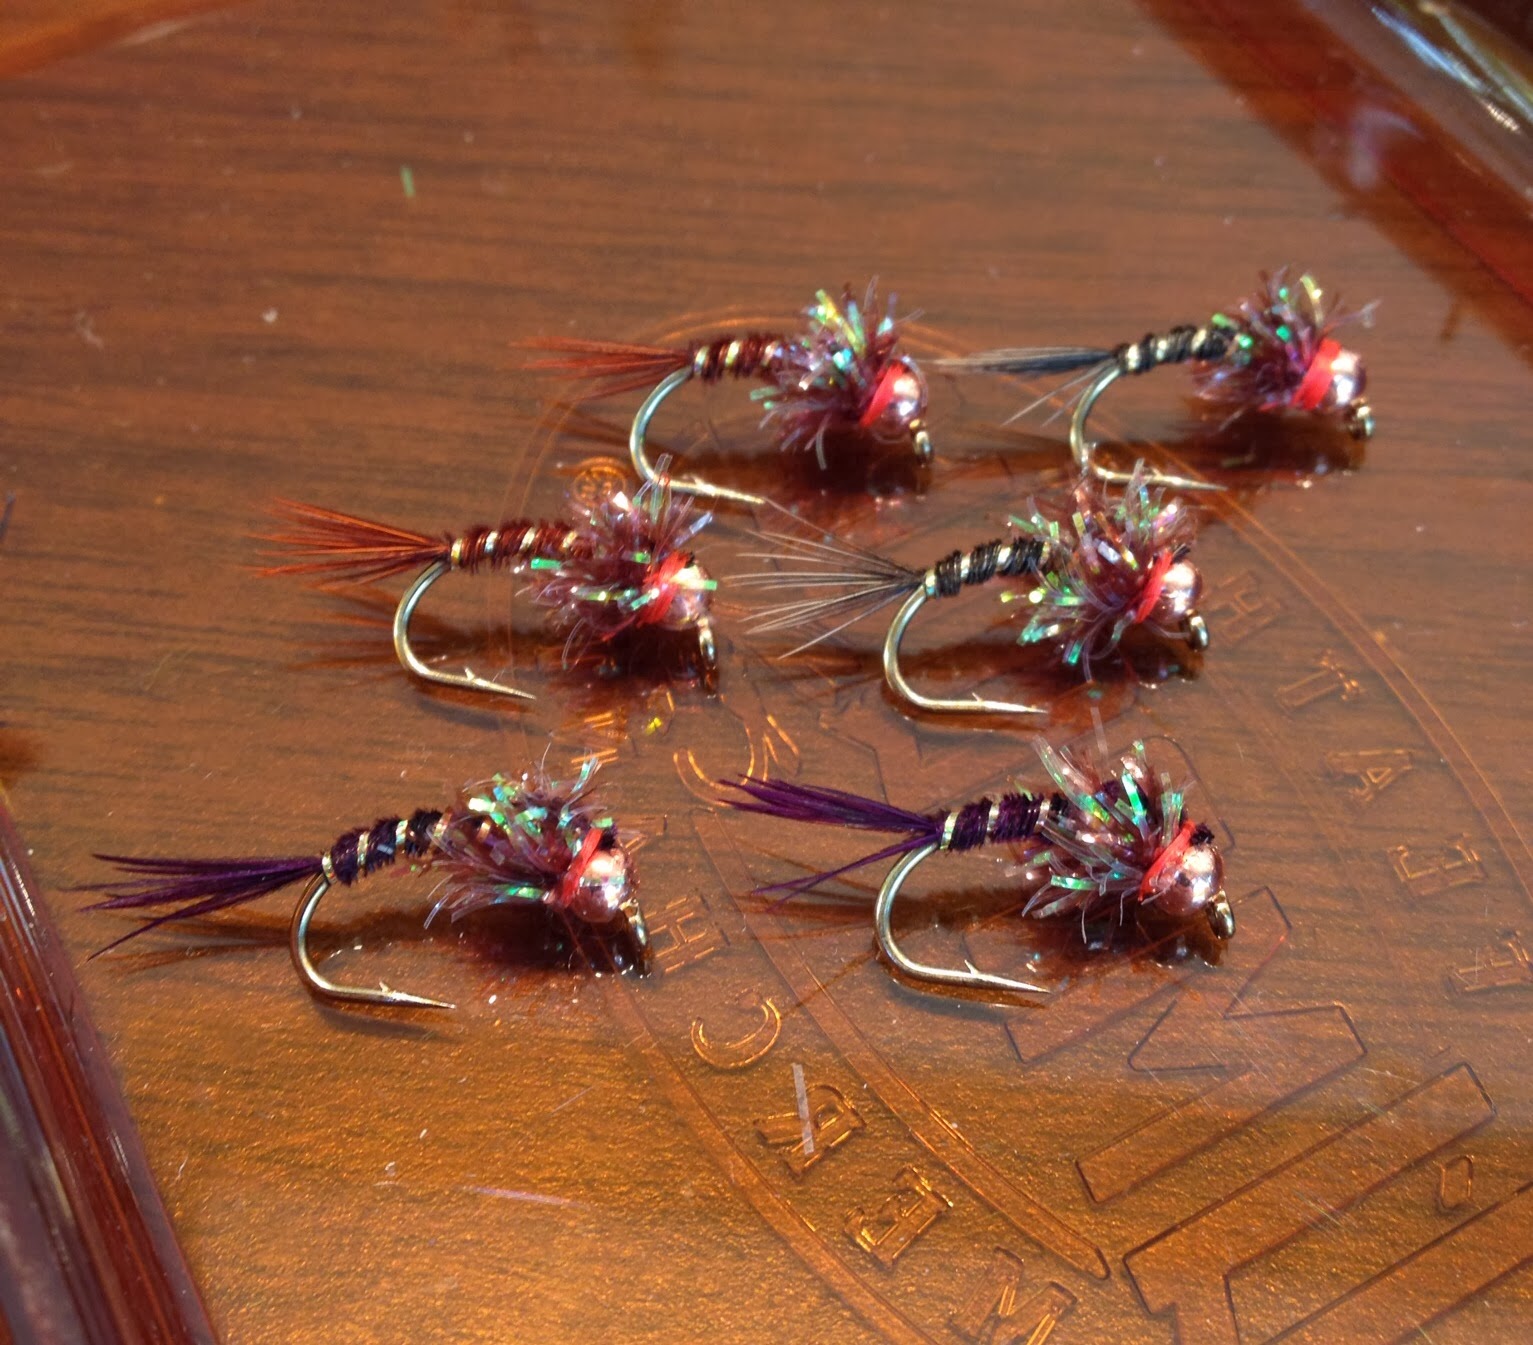
Featured Fly - GS Steelie PT

Keeping with my tying motto lately, "Guide Simple", the Steelie PT is a perfect fly. It is nothing ground breaking, or super flashy, but it has just enough to get a steelhead's attention. The color combinations are endless, and it is a fun fly to tie. I found that size 8 is a great size for this guy, 10s will also work. It doesn't have to be just a steelhead fly either, use it as a point fly while nymphing, or trailer it behind a streamer, trout will eat it too!

Materials:
Hook: TMC 2457 sz. 12-8
Thread: Uni Thread 6/0 - Fl. Fire Orange 
Rib:  Holo Tinsel - Gold 
Tail: Pheasant Tail -  Purple 
Abdomen: Pheasant Tail - Purple 
Thorax:  Petite Estaz - Brown 
Wing Case: Pheasant Tail - Purple

Step 1: Slide bead on.


Step 2: Make a thread base, tying in the Holo Tinsel as you go back.


Step 3: Tie in the Pheasant Tail, then take your thread back to the top.


 Step 4: Wrap the Pheasant Tail forward. Leaving enough space for 3 wraps of Estaz.


Step 5: Wrap the Tinsel forward making a rib.


Step 6: Tie in about 10 tail fibers, to make the wing case.


Step 7: Tie in the Estaz.


Step 8: Wrap the Estaz 3 times making the thorax.


Step 9: Fold the PT Fibers forward and tie off.


Step 10: Make a small "hot" collar with thread, Whip Finish, and cut off.